Why you need a security key for Facebook
Facebook knows a lot about you. You want to keep that information safe from third parties, and prevent people being able to impersonate you by hijacking your Facebook account.
A security key is a physical token (similar to a thumb drive) that offers you the highest possible level of protection against impostor websites that may trick you into typing your Facebook password (phishing).
If you use a security key, an attacker will not be able to log into your Facebook account even if they learn your password, and even if they can fool you into trying to log in to an impostor site that they control.
This is a higher level of safety than you can get by using other forms of two-factor authentication, like SMS messages or an authenticator app.
Who this guide is for
This guide is designed for regular humans. It will walk you through the steps of effectively protecting your Facebook account with a security key, without explaining in detail the reasons for each step. You can learn more about those in the security key FAQ.
Let's do it!
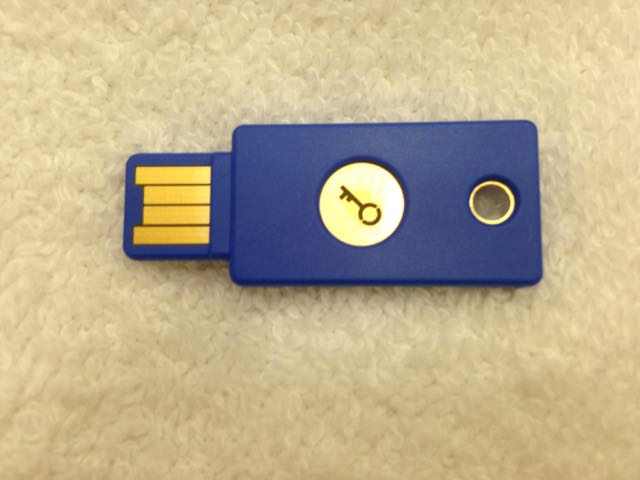
- First, order a Yubikey! Any Yubikey will do; we recommend the blue one because it's cheapest. You can buy it for $18 on Amazon:
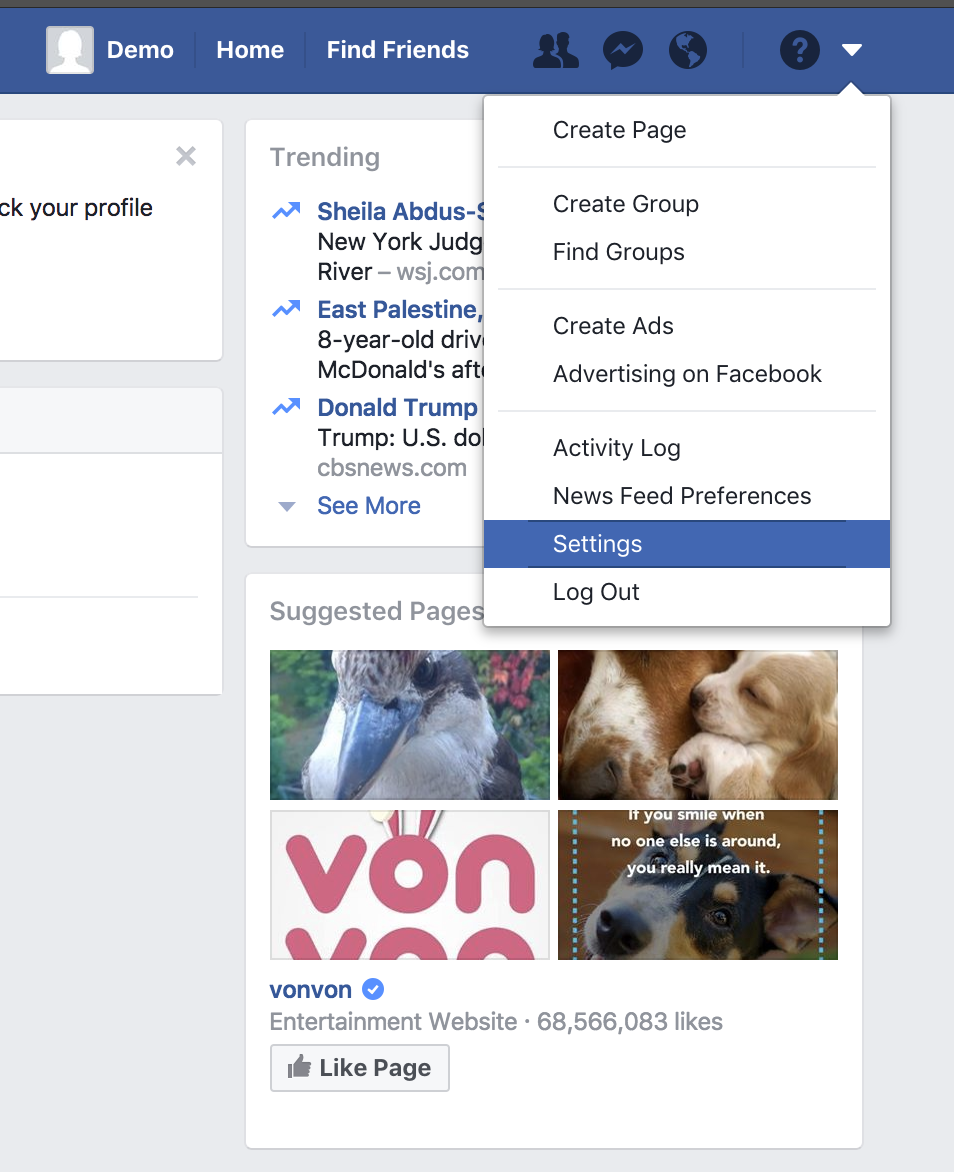
- Once you have a Yubikey, log in to your Facebook account in Chrome on a laptop or desktop, and click on the dark triangle in the upper right of the page to go to your settings:
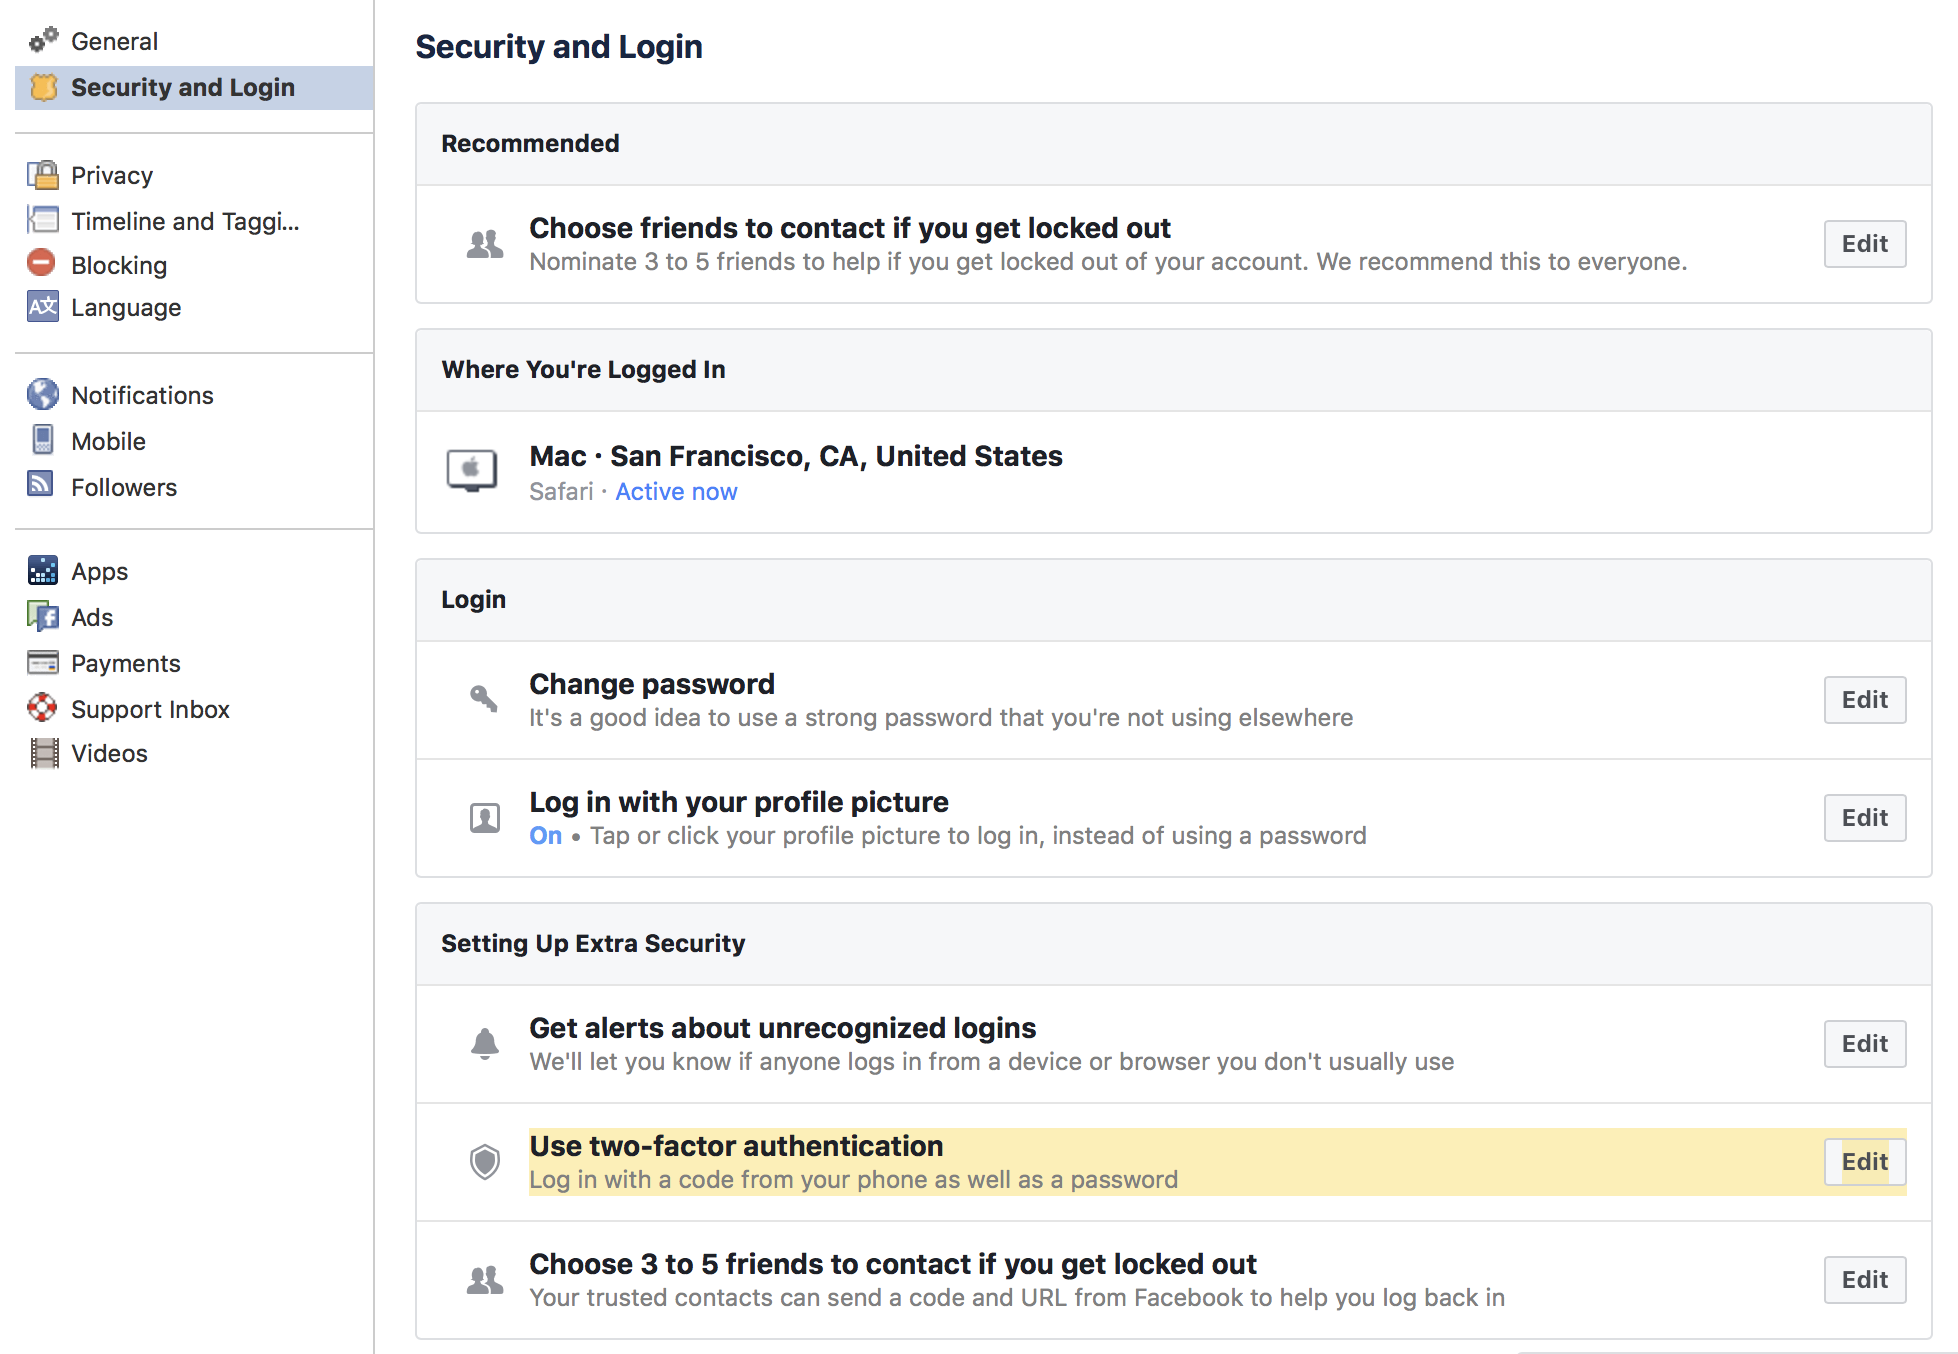
- On the settings page, choose "Security and Login" on the left. Find the row that says "Use two-factor authentication" and click the Edit button:
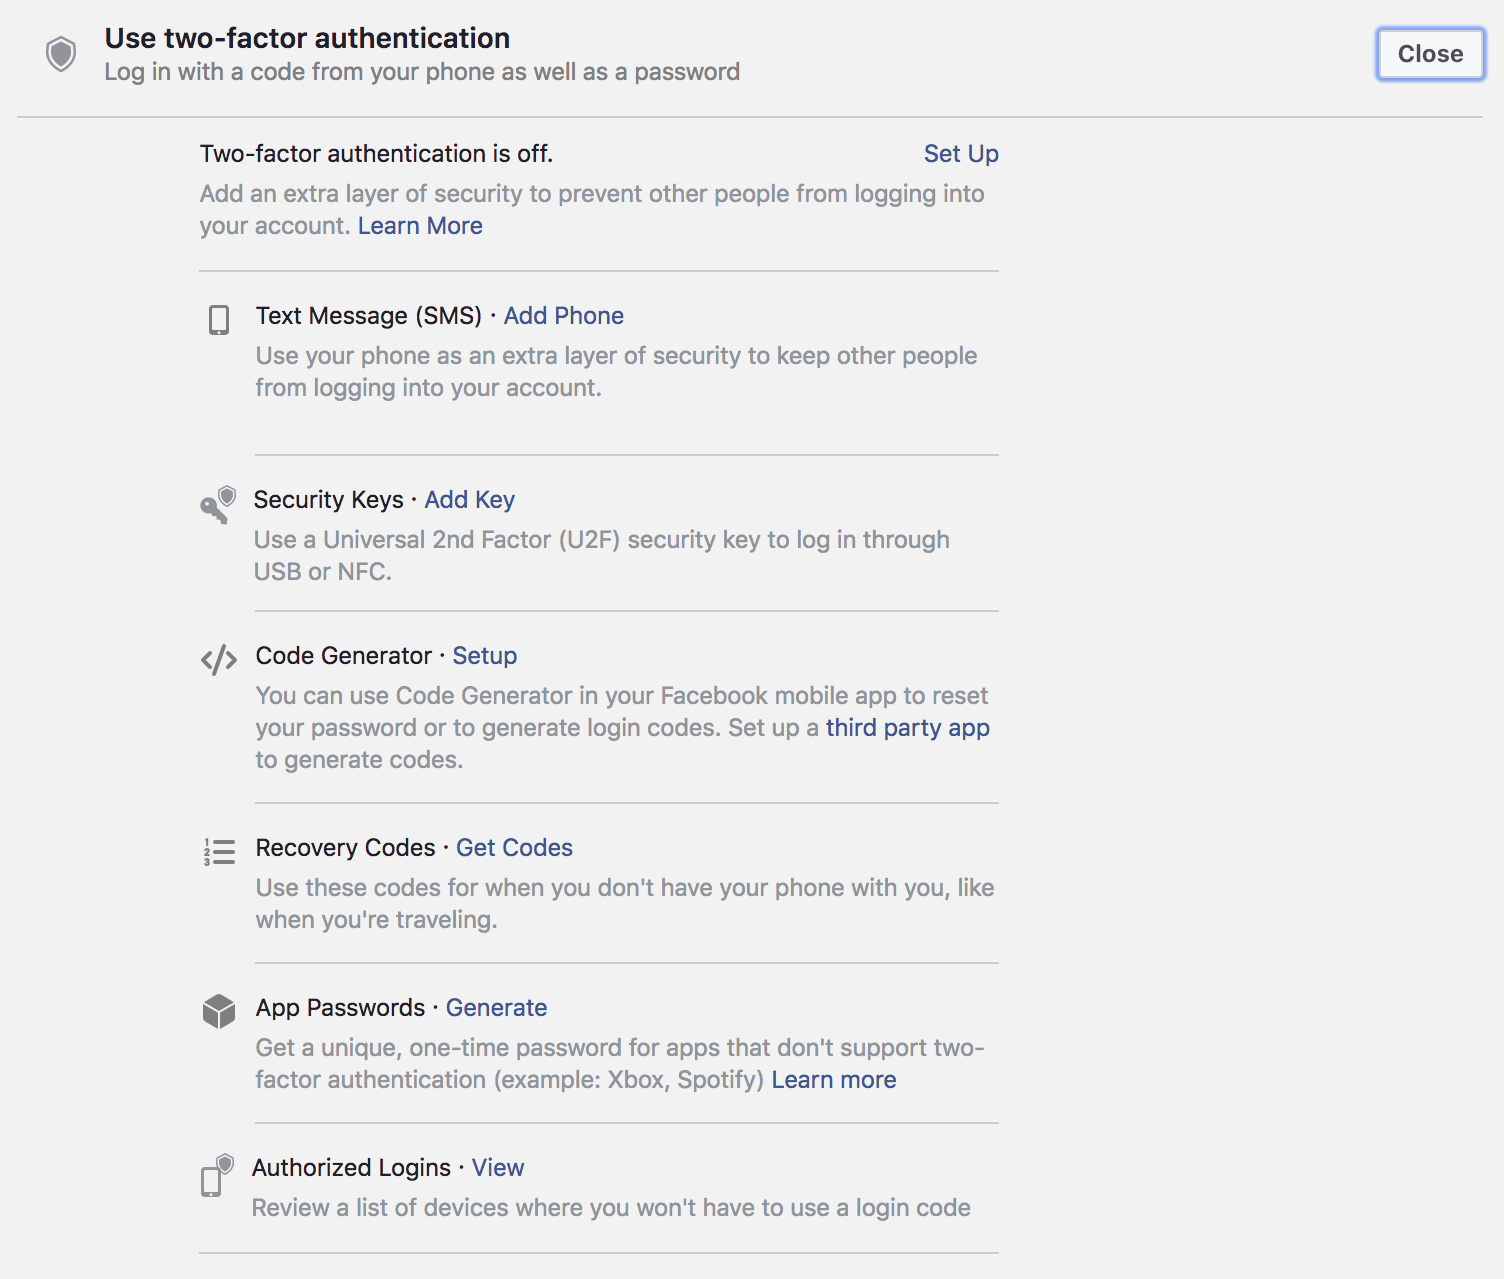
- You'll see this authentication panel. Next to "Security Keys", click the "Add Key" link. Make sure you're doing this in Chrome—it won't work in other browsers!
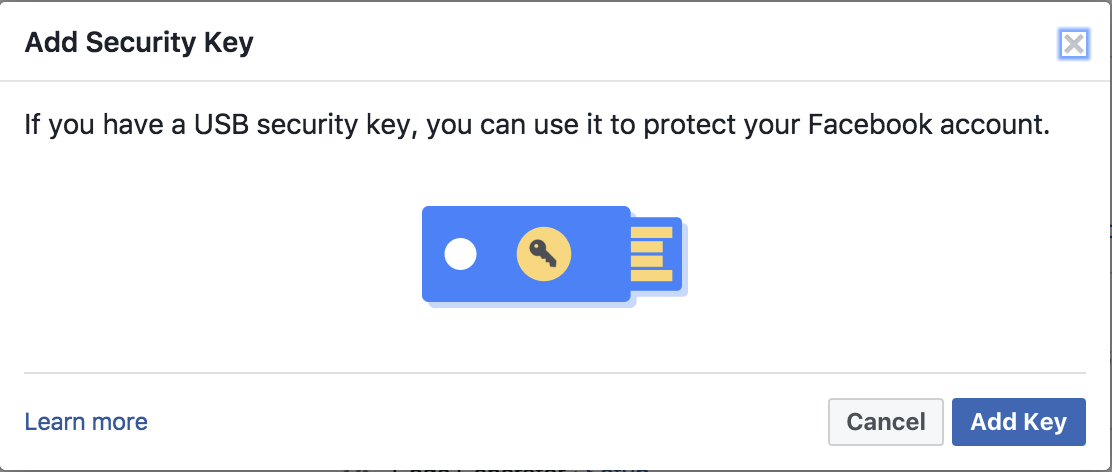
- The "Add Security Key" dialog will pop up. Click the "Add Key" button.
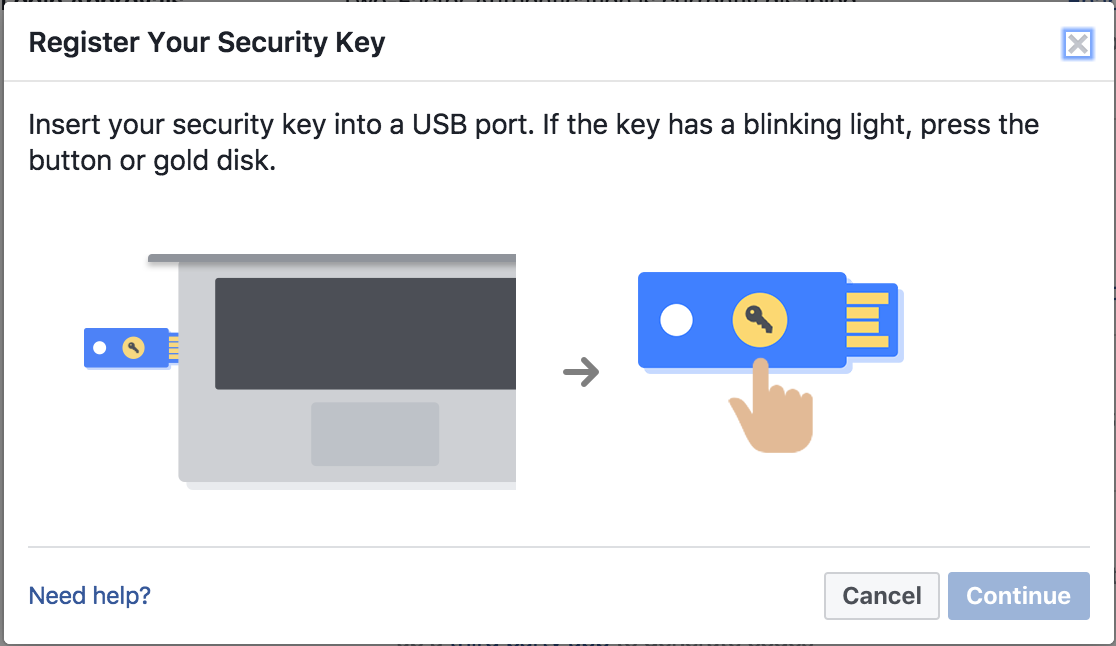
- The "Register Your Security Key" dialog will appear.
Plug the key into any USB port, with the gold disk facing upwards. If you're on a newer mac, you may have to use a USB adapter, like an animal:
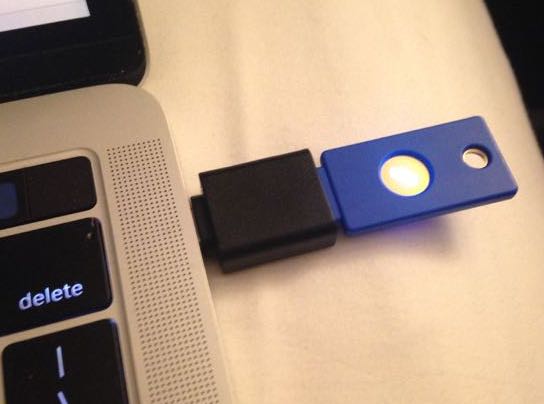
If you did this right, a light in the gold disk should start flashing.
- Press your fingertip against the gold circle until it stops flashing. (If you have longer fingernails, you may need to wiggle your finger a bit, or press harder.)
Once Facebook accepts your key, it will give you a chance to give your security key a name.
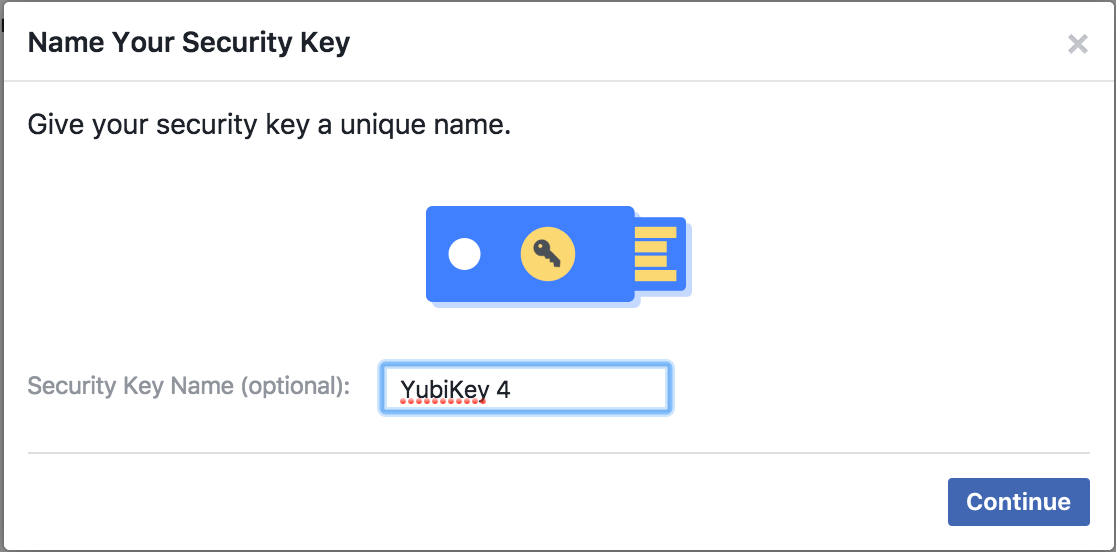
We suggest using a short name that you can also write on the security key with a permanent marker.
- Congratulations! You've added a security key to your account!
Now let's add some backup methods in case you lose the key, or don't have it with you. The first one we'll install is an app that lives on your phone.
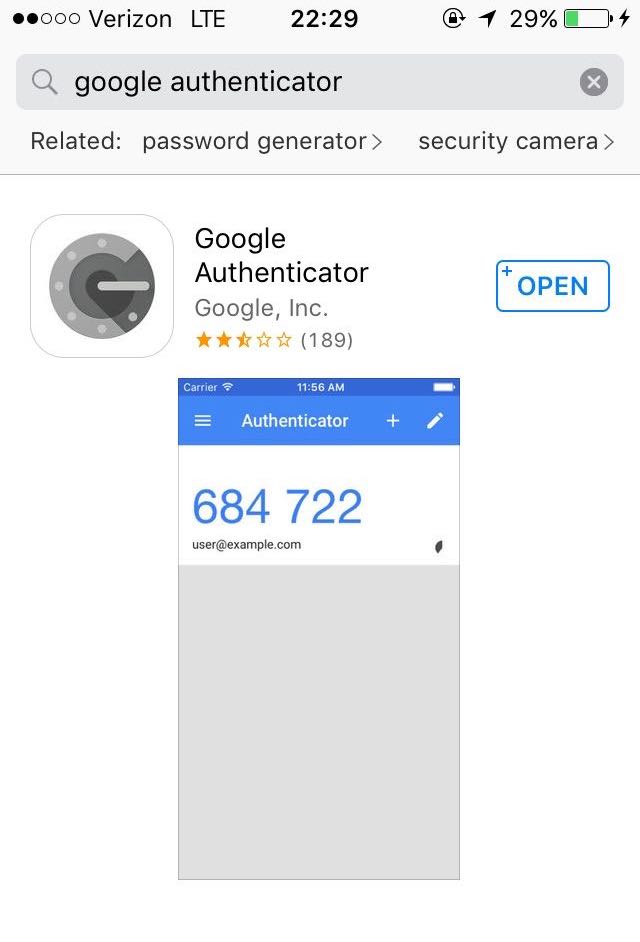
- On your phone, download and install the Google Authenticator app:
- Back in your browser, go down the list of options until you see "Code Generator". Click on the link that says 'Set up a third party app'.
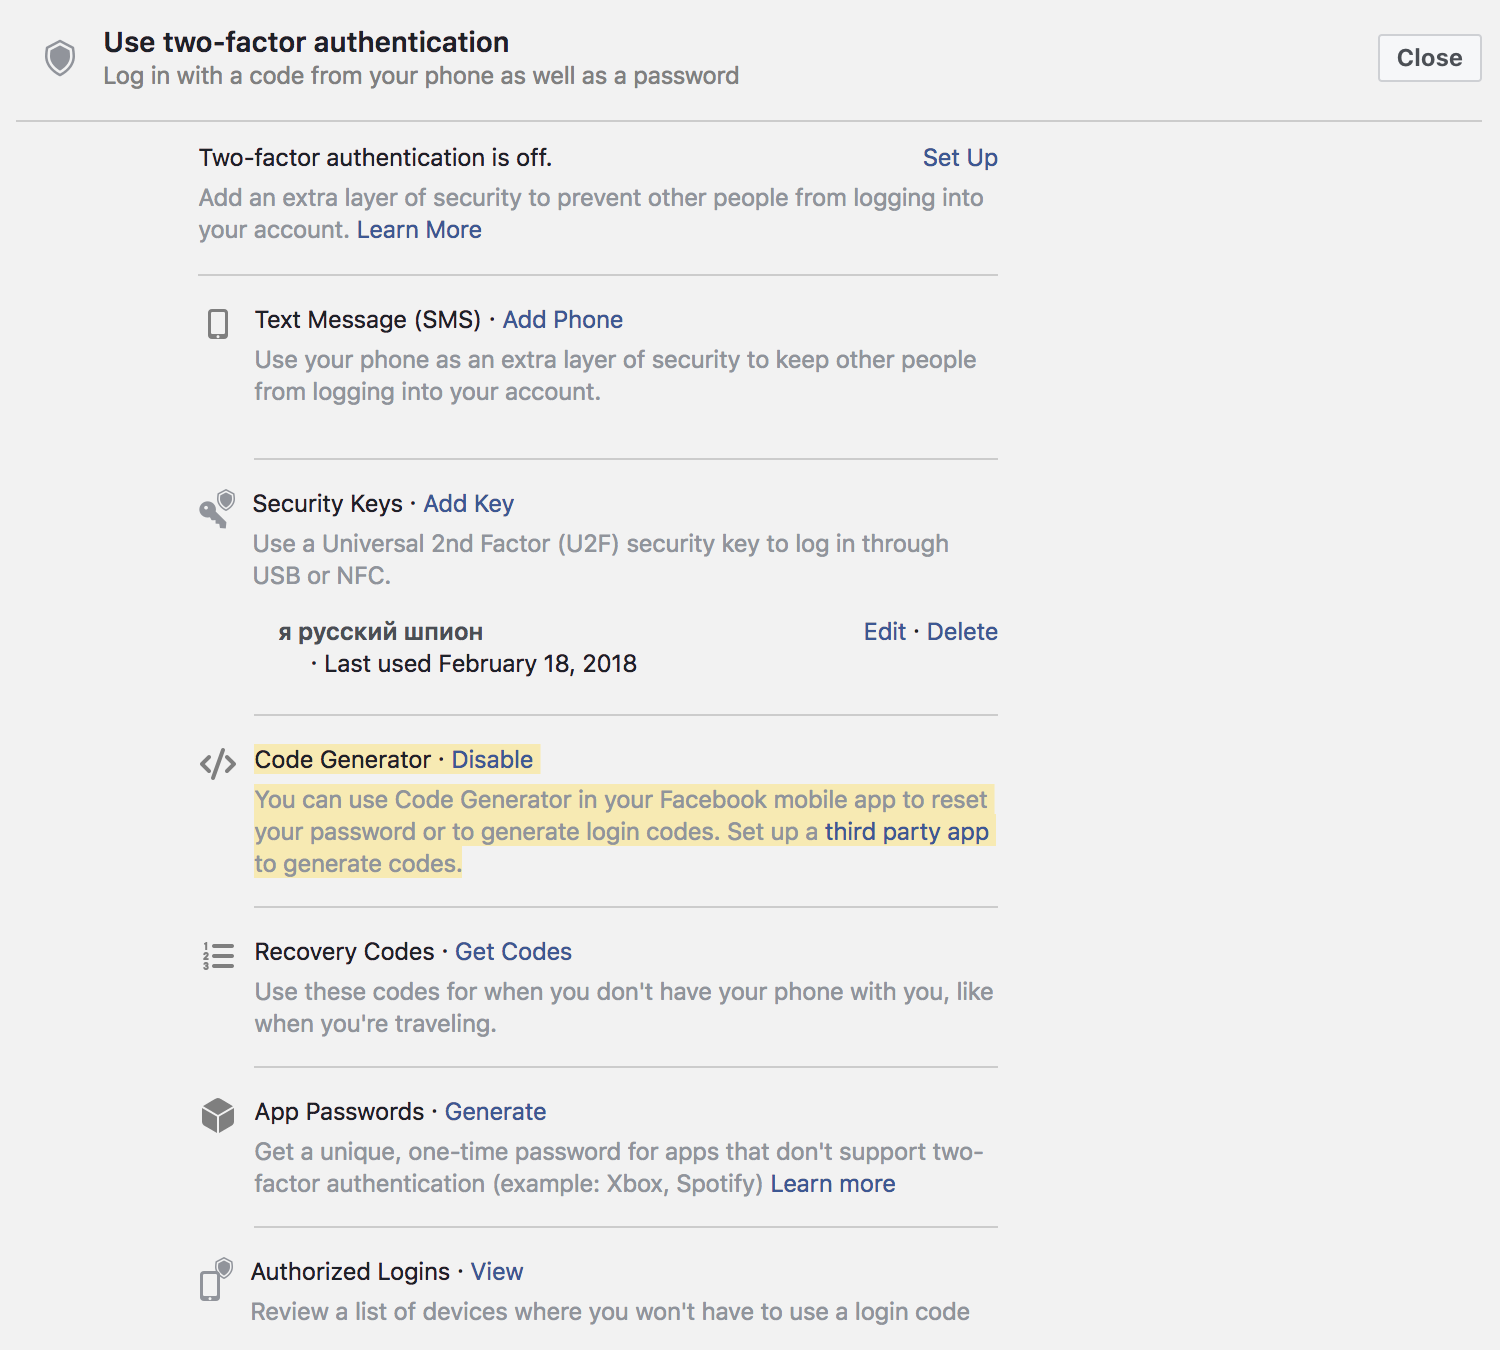
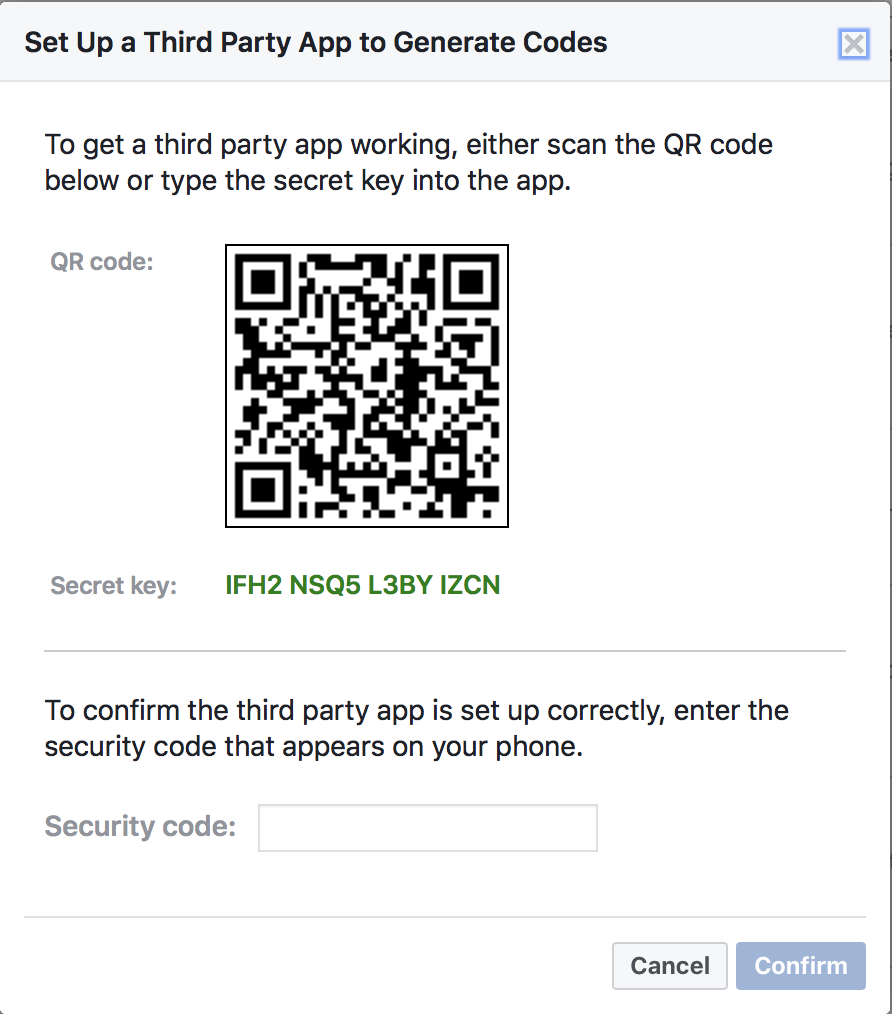
- Facebook will show you a dialog with a QR code.
-
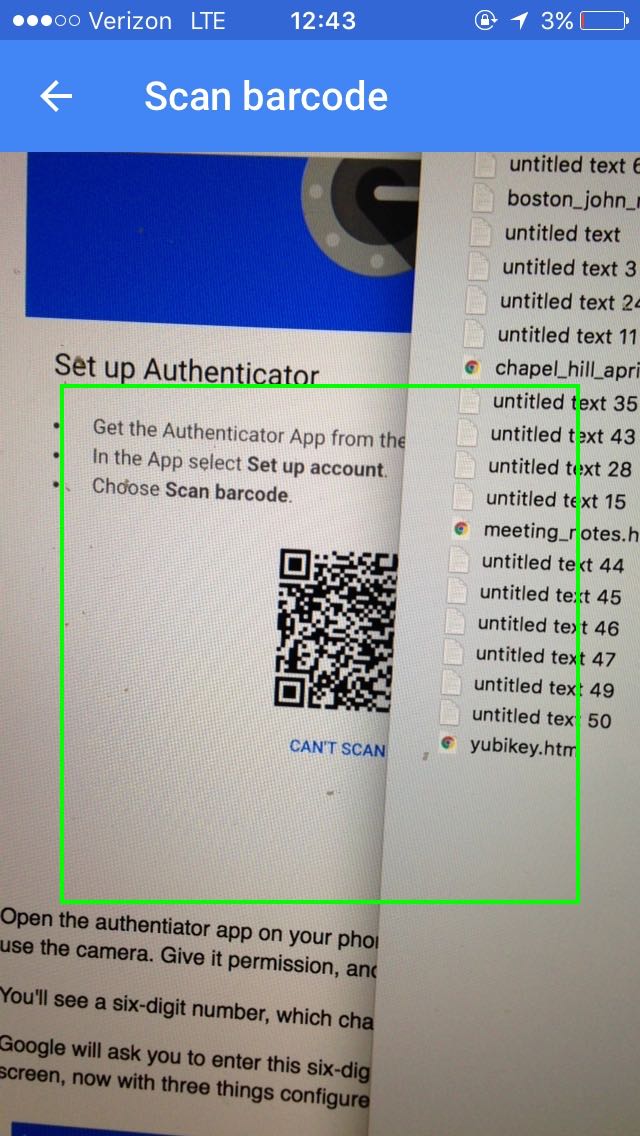
Open the Google Authenticator app on your phone, and click the 'plus' sign. It may ask you permission to use the camera. Give it permission, then take a picture of the QR code.
- Enter the six-digit security code you see in the Authenticator app on your phone into the Facebook dialog, and click the 'Confirm' button.
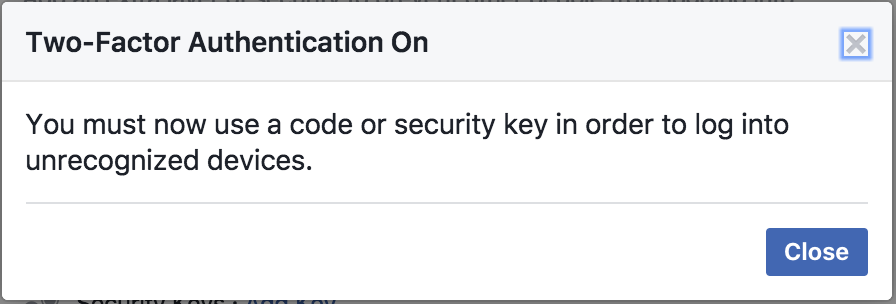
- Facebook will now ask you to enable two-factor authentication.
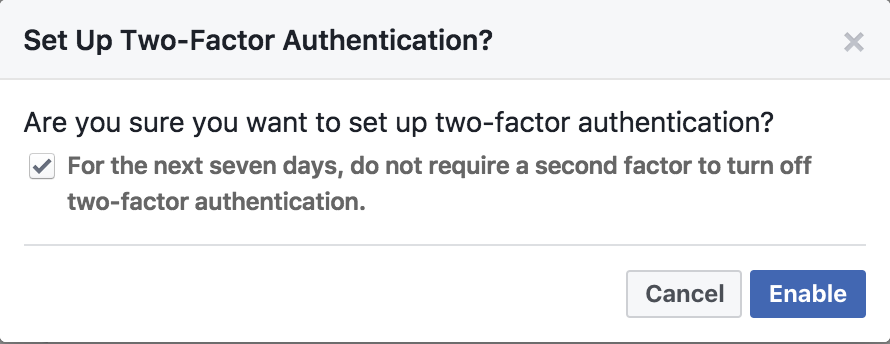
- ...and it will confirm you've turned two-factor authentication on.
- Now we're going to add one more backup method, in case we lose both our security key and our phone. Go to 'Recovery Codes' and click the 'Get Codes' link.
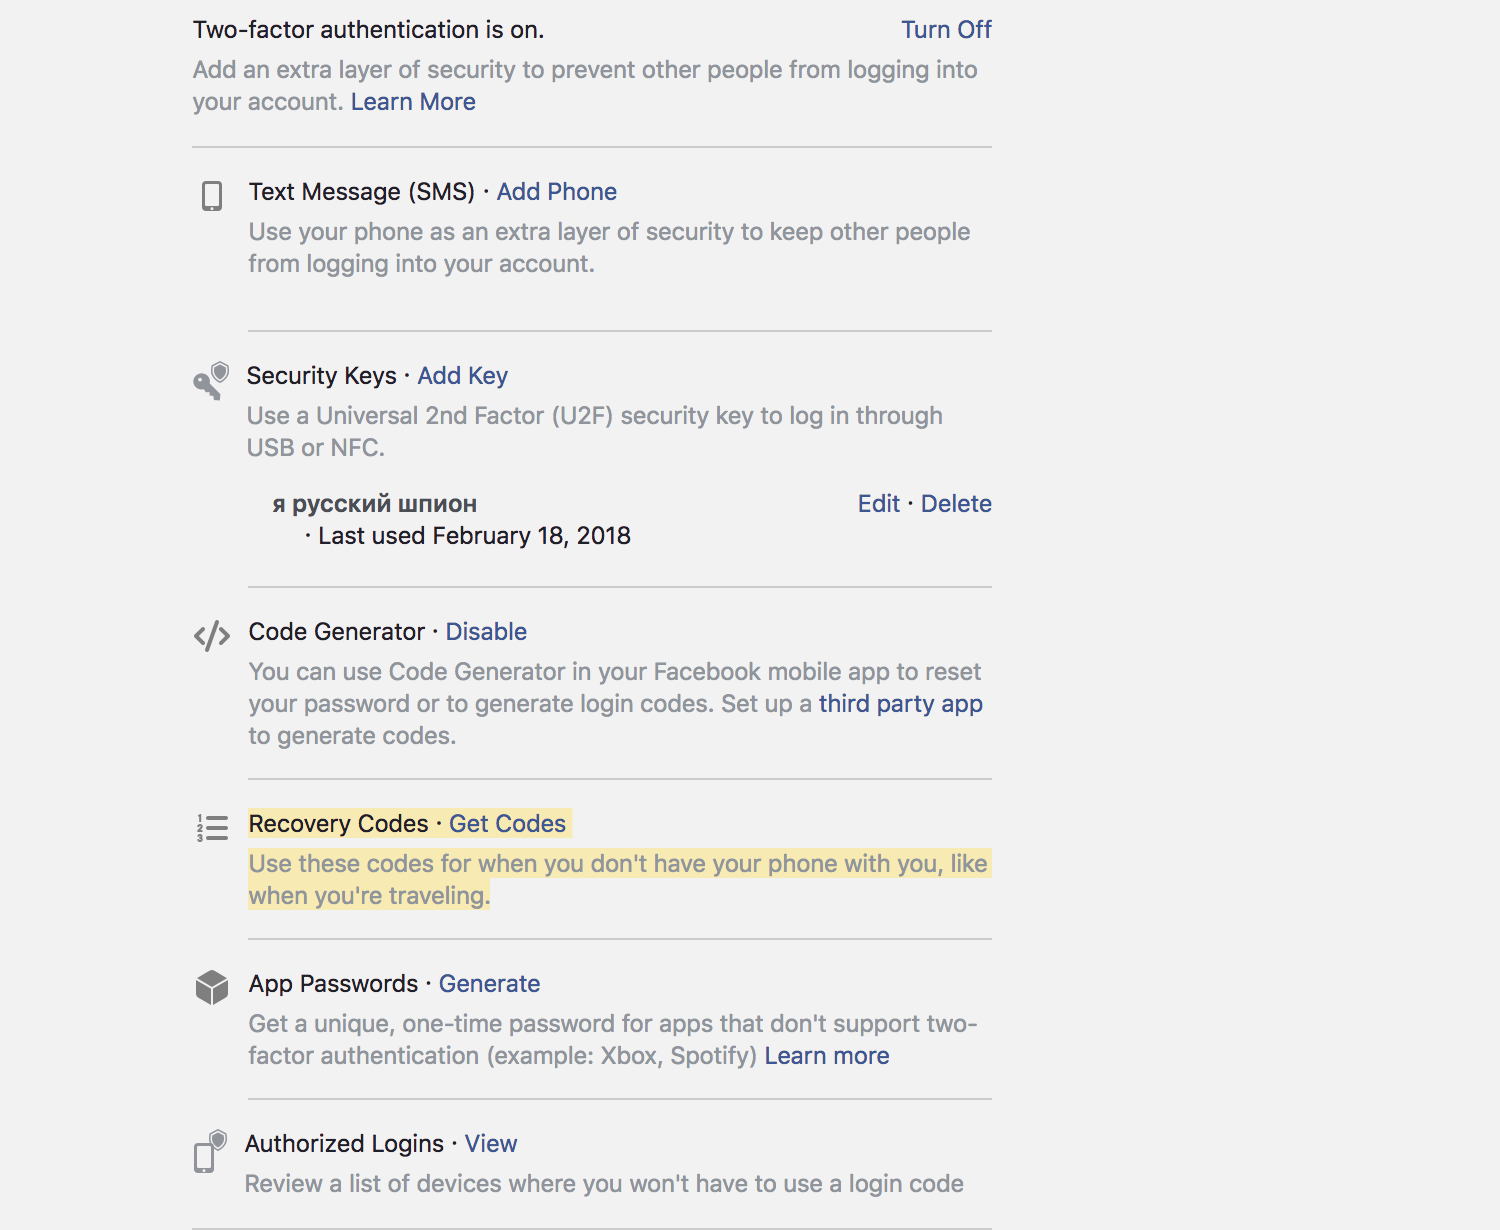
- You'll see a list of ten numeric codes. These are single-use codes that will let you in to your Facebook account. Print them out and put a physical copy somewhere safe, like your wallet, tucked into your passport, or with your other private papers.
Don't store them digitally on your computer, or in your password manager. Don't keep them in your laptop bag.

- Finally, make sure you don't have your phone number attached to your Facebook account (If you're curious why it's important to not have a phone number on your account, see the security key FAQ.)
It's best not to give Facebook your phone number in the first place, but if you do, you can disable it in the security pane.
You have just secured your Facebook account!
Test Drive
Now let's try logging in, with and without the security key:
- Open an incognito window in Chrome (make sure there are no other incognito windows open), and try logging in to Facebook. It will ask you for your password as usual, and then it should prompt you for your security key.
- Insert the key like you did during setup, and press the gold disk until it stops flashing.
You should now be logged in to Facebook!
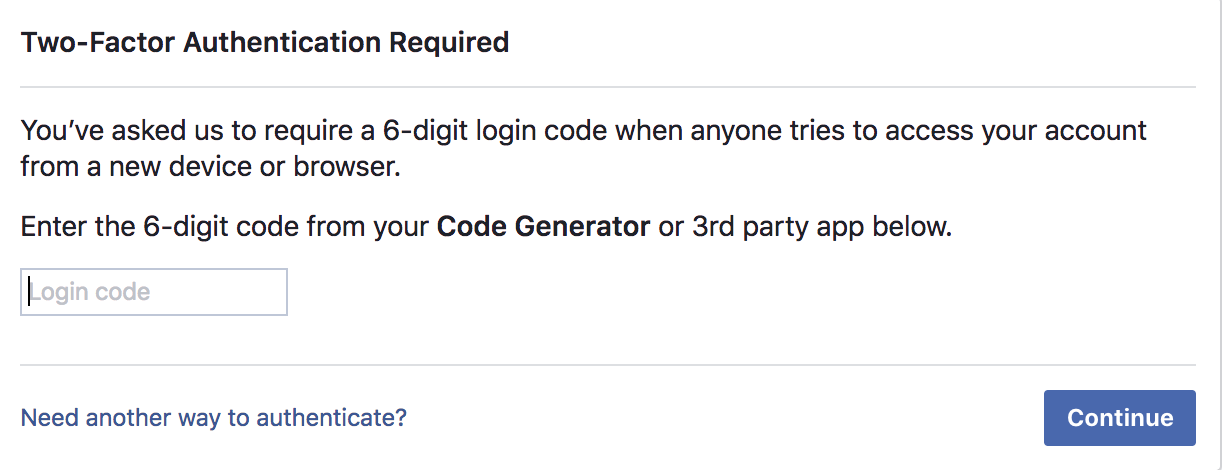
- Now let's test logging in without the key. Close the incognito window, open a fresh one, and log in to Facebook again. This time, instead of inserting the key, click the 'use a different method' link at bottom:

- You'll see this dialog, asking you for a code from your Authenticator app.
- Enter the code as prompted. You should be logged in to your Facebook account!
(You can also enter one of your one-time recovery codes in this step)
- If either of these methods didn't work, or you weren't prompted for a security key, go back and double-check your two-factor security settings.
If you feel lost, contact me (maciej@ceglowski.com) and let's chat!
What have we done?
You now have a Facebook account that is very resistant to phishing, as long as you remember to use the security key every time you log in.
Remember, you're only fully protected when you use the key. The Google Authenticator app we set up as a backup is convenient, but it does not give you as much protection against being tricked into typing your credentials into a website pretending to be Facebook.
Now that your Facebook is secure, go add a U2F key to your Gmail account! You can use the same blue security key as you did here to protect your Gmail.